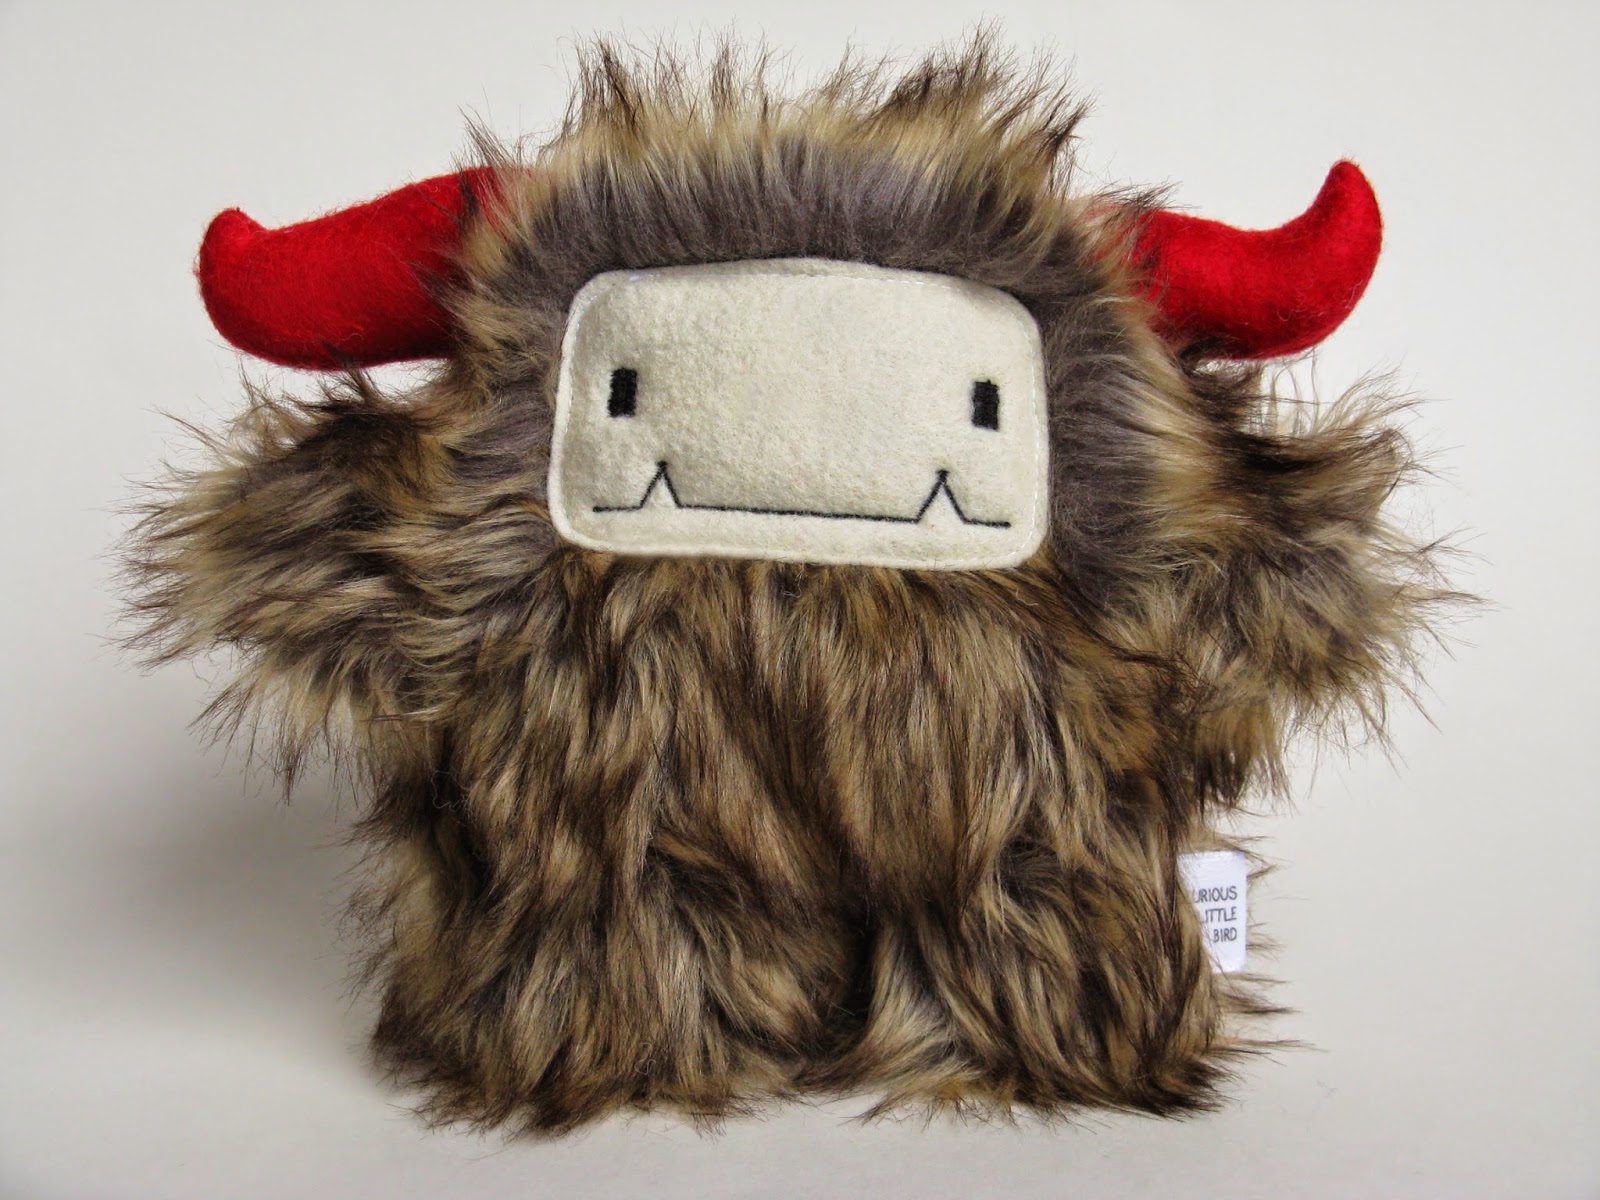
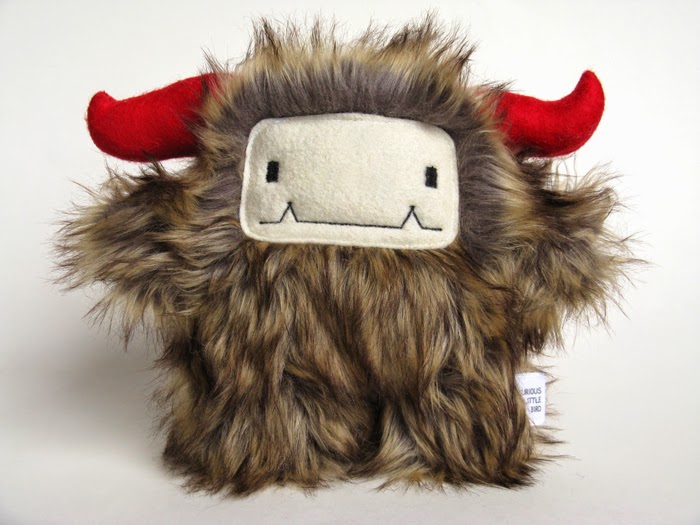
I thought it might be nice to impart some of my wisdom, and talk about how I go about photographing my products without professional gear, lights or a light box. This will be especially good for those of you who have new online shops, and perhaps aren't quite there in the photo stage. Trust me, I we've all been there. But as you might know it by now, great photos help you sell better on marketplace websites such as Big Cartel or Etsy.
So let's get started!
Setting up your artwork
Ideally you would like to set up your artwork either outside on an overcast day, or inside in a room with large windows and soft, natural light, out of direct sunlight. If you are photographing inside an using window light, make sure all other lights in the room are turned off.Hang, or lean your artwork against an object or a wall. If you're in a room and your art is resting on something, make sure the background is a neutral colour (example: concrete, white wall, black table etc.) and not harshly coloured as this will reflect unwanted colours onto your product. Make sure the window(s) are to the sides of you and your product and not behind you to prevent unwanted reflections. You'll also want to make sure that you don't see the resting object in your photo. So make sure it's small enough to be hidden behind your item. I use an empty roll of tape. :)
Set up your camera
Place your camera on a stable, horizontal flat surface. This can be a tripod, or in my case a small bag of basmati rice* on top of some boxes. Make sure it's far enough away from your art so you can zoom in with your lens and fill your camera's screen / viewfinder. You don't want to be too close with your lens zoomed all the way out, or you'll get wide-angle lens distortion. If you don't have a zoom lens, simply place your camera at a distance where your art fills most of your camera's screen.(*What's great about the rice bag is that if I need to angle my camera, the rice will hold my camera at the angle, without having to hang on to it, in case I need to let go to hold both my product for sizing).
Make sure the lens is parallel and centered with your product. If your work is at an angle, make sure you match that angle with your camera or you'll get perspective distortion, and your work won't appear straight, or the size will be large on top and small on the bottom (or vice versa).
Set the white-balance in your camera that corresponds to the type of light you are using. If you're using daylight choose either daylight, cloudy or sunny (depending on your camera's settings). In my case I used cloudy for the photos in this blog.
If your camera has a flash, turn it off. It'll create harsh reflections and they won't mix well with the light you're using.
Go to the dollar store and buy yourself a few pieces of white cardstock. I use these both as backdrop, and to redirect the light back to my product to illuminate the side not facing the window. This lessens the shadows, and brightens up the image significantly. Using a self-timer for this is key.
Turn on your camera's self-timer. Using this will allow a hands-free shot that will be perfectly still and not blurry. Focus on your work, get the proper exposure, and then start taking pictures.

Take a few photos to be safe and then look at them on the screen to make sure you have what you need. Zoom in on the pictures to see if they're sharp or blurry. If they're blurry, make sure your camera is properly focused on your product. If you're in zoom, make sure it's not fully zoomed as lenses are never at their sharpest with fully zoomed in or out. Lastly, use that self-timer on your camera to avoid any camera shake that might result from pushing the shutter button.
If your photos are too dark or light, you can adjust this in-camera by using exposure compensation. It's always best to get the correct exposure in-camera than fixing it on the computer as making adjustments in Photoshop can degrade image quality.
 |
| What my photo looks like when I view it in Photoshop. Time to do a little adjustment. |
Preparing your digital files
Once you're done taking photos, connect your camera or memory card to your computer and open them using your program of choice (Photoshop, Preview, iPhoto).
Zoom into your artwork at 100% and double check that all your images are sharp and correctly colour balanced. You want your work to look as close as possible to how it does in real life. This is important for online marketplaces. Customers don't want to be surprised when buying an item.
If you're happy with your work, crop your image so the extra space is removed, and your artwork is visible.
 |
| After some adjustments, the background is noticeably brighter without ruining the monster itself. |
Save a copy at full resolution!! You never know when someone might want a high resolution copy for their website/blog or magazine. I've often missed this step, and was stuck with low res images. If you're using Photoshop, keep the .psd file for this.
Resize your images. I found a trick for this. Again if you're using Photoshop, I will save my images to Web (shift+ctrl+command+S). This way I can easily resize it to my low res, and choose .jpg. This method ensures you don't accidentally save over your large resolution image. If you're using Etsy, a good size is 600x480 pixels. Big Cartel's images are more square so 600x600 is good too. Make sure when you save a copy, that you add "sm" or "small" at the end so you can distinguish which image is the high res, and which is the low res. I like to save all my high resolution images in their own folder named 'high res' so as not to get mixed up. If you're saving these images for your online shop, you also have to think about SEO. Rename the low res file with the appropriate keywords so your images are found in Google etc. Example: brown-circular-embroidery-hoop.jpg
Once you're all finished, you can then upload them to your website!
Pssst... did you know that most of my photos in this blog (save for the last two) were taken with my iPad?? :)
Good luck, and I hope this has helped you! If you have any questions, feel free to leave them in the comments (and follow the replies so you'll get my responses). :)


